
A Simple Step-by-Step Guide
Getting your lounge suite set up should be easy, and that includes attaching the seat backs correctly so everything feels sturdy, seamless and ready for years of comfort. Whether you’ve just received your new suite or you’re putting it together with a friend/family member, these steps will walk you through it with confidence.
If you prefer video instructions, you can view a video of these steps on our YouTube channel: https://www.youtube.com/watch?v=oWsyMa8lzvU
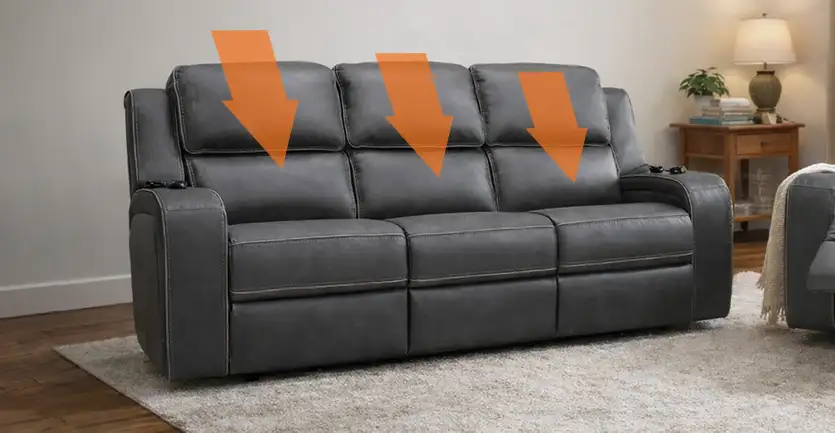
1. Know Your Seat Backs
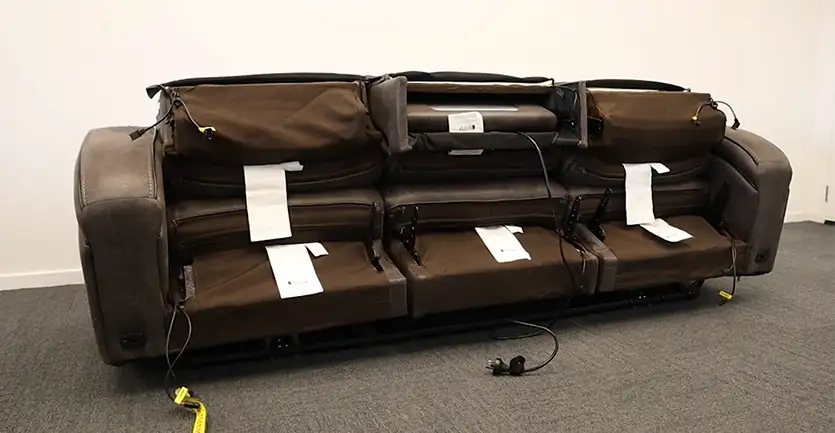
Before you begin, take a moment to identify each backrest. Most lounge suites have a left, right and center backrest - as some are shaped slightly differently to match the curves of the armrests. Lay them face down on the seat base so you can visually see where they need to go.
 ---
---
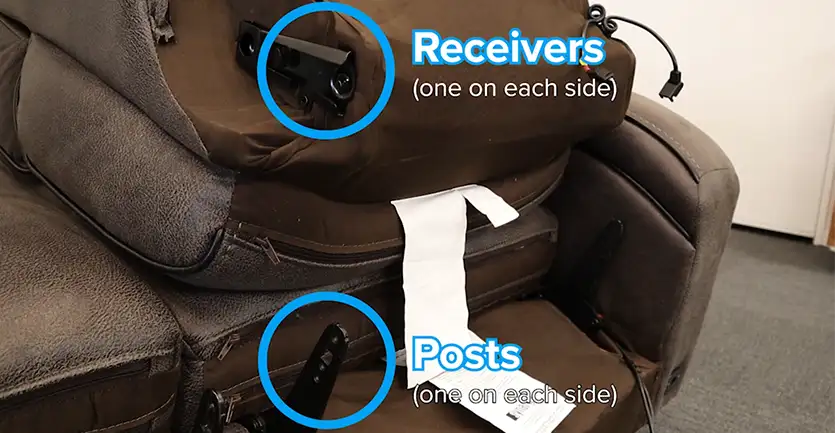
2. Match the Posts and Receivers
Each seat back has two receivers (one on each side). These need to line up with the two posts on the seat base before uprighting the backrest.
⚠️ Important: If your suite has electrical features, make sure any cables are clear of the posts and receivers before locking the back in to avoid pinching or damage.
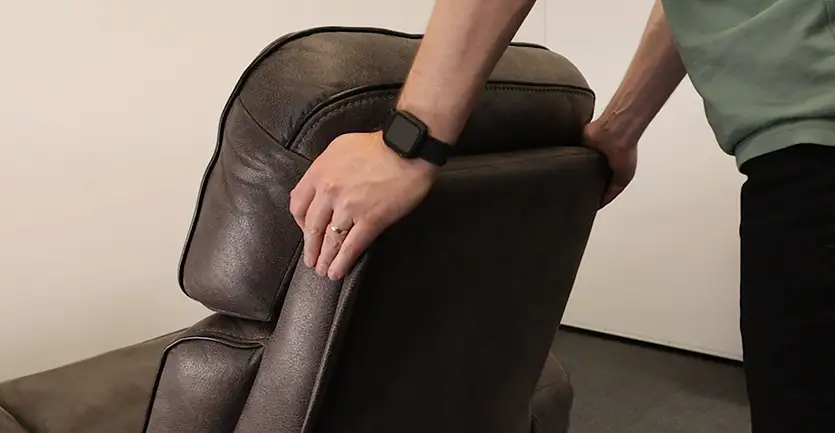
 Once the posts and receivers are aligned, raise the backrest upright and gently but firmly press the backrest down into place. You’ll often feel or hear a click as each side locks in.
---
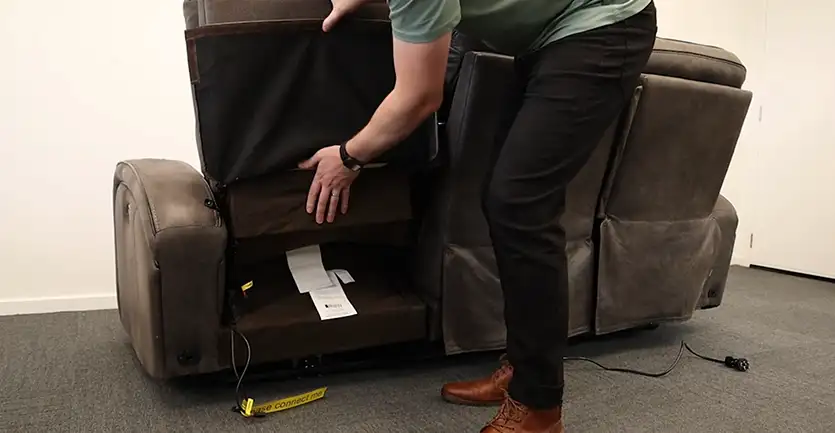
3. Get a Helping Hand if You Need It
Some seat backs (especially on lounge suites with backrest massage) can be surprisingly heavy. If your backrests feel weighty or awkward to handle on your own, don’t hesitate to ask a friend or family member to assist.
---
4. Repeat for All Seat Backs
Once you’ve done one, just repeat the process across each of the remaining backrests until your whole suite is fitted.
---
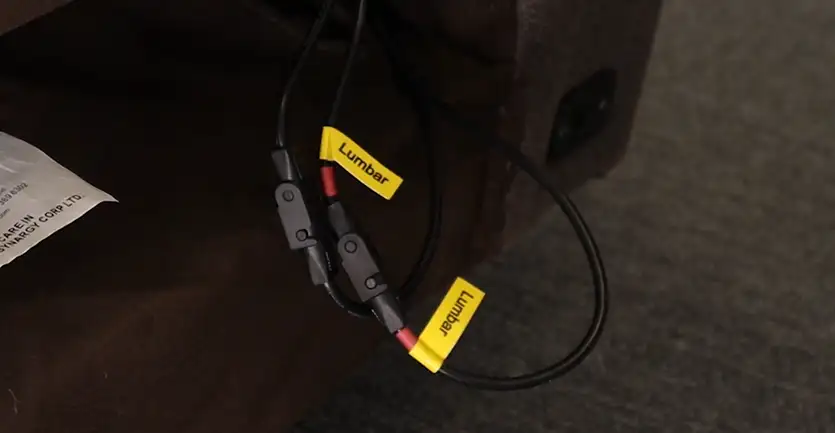
5. Connect Electrical Cables (if applicable)
Many Synargy lounge suites feature electric recline, massage, lighting or power outlets. If your model has electrical functions:
Match the colour-coded or labelled cables between the seat backs and the seat base.
Your suite also comes with written instructions in the box: be sure to follow them for the best setup.
If your lounge doesn’t have electrical features, you can skip this step entirely.
---
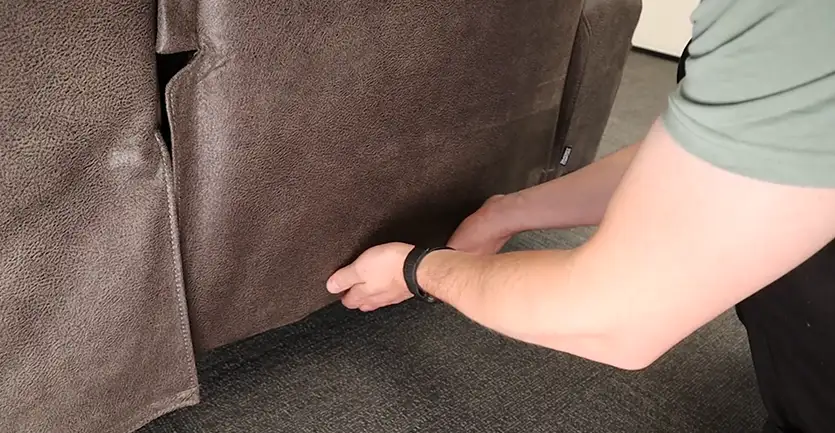
6. Tidy Up Loose Fabric Flaps
Once everything is connected, you might notice some fabric flaps hanging under the backrests. Use the attached Velcro strips to secure these neatly in place, keeping the back of your suite tidy with the cables out of the way.
---
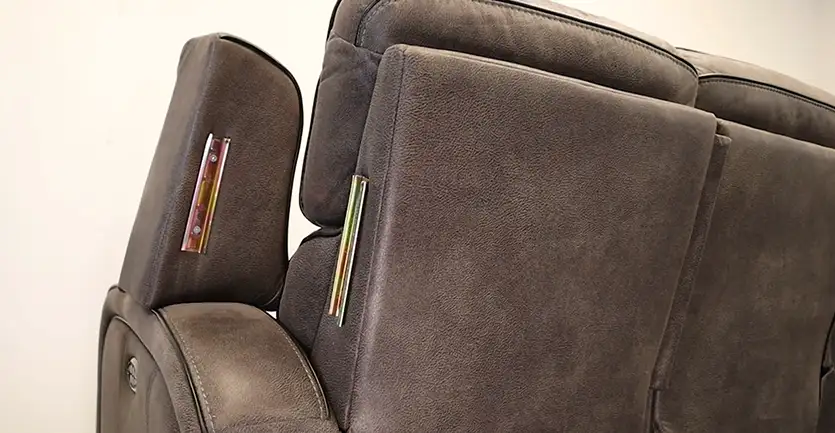
7. Attach Any Backrest “Wings”
Some models have additional backrest "wings" on the outer seat backs. These simply slot in via a simple sliding bracket system - slide them into place, and you’re done.
---
8. Power Up (if applicable)
Finally, connect the included power supplies and plug your lounge suite into a power outlet. As before - if your suite doesn’t have electrical elements, simply skip this step and enjoy your new seating!
---
If you ever need additional support with your specific model, don’t forget to check the printed instructions included in the box or reach out to your retailer.
Your lounge suite should look great and feel great, and with these simple steps, you’ll be relaxing in comfort in no time.


